Menu

Call This Friday to Get $25 OFF

How to Prevent Shelves From Sagging or Breaking
16/Apr/2026

A shelf that looks sturdy on installation day can fall six months later under the weight of books, tools, or storage bins. The difference between a shelf that holds up for years and one that fails comes down to planning and installation. Mr. Handyman has seen what happens when the details get skipped. Knowing what causes shelves to sag or break puts you in a position to avoid the problem. Keep reading for a look at what quality shelf installation involves and where most people go wrong.

How to Prevent Shelves From Sagging or Breaking

How Shelf Material Choice Affects Long-Term Load Capacity

The shelf material you choose determines how much weight you can realistically store and for how long. Particle board is cheap and widely available, but it absorbs moisture, compresses under heavy load, and begins to bow within a year or two. Plywood holds up better because the cross-laminated grain distributes weight across the whole panel. Solid wood performs well, too, though it moves more with seasonal changes in humidity. MDF falls somewhere in the middle. It's denser than particle board but still vulnerable to moisture at the edges.

Thickness matters as much as material type. A 3/4-inch plywood shelf can support a reasonable load without visible deflection. The same span in 1/2-inch particle board will show a bow within weeks if you load it with books or canned goods. Spans beyond 36 inches need 1-inch material or a center support bracket.

Home improvement projects go sideways when people buy shelving based on price per linear foot rather than span and load requirements. Match the material to its use. A shelf holding decorative items has different needs than one storing tools, pantry supplies, or a collection of hardcovers. Getting the selection right costs nothing extra in time and prevents shelf repair calls down the road.

Why Proper Bracket Spacing Prevents Shelf Sag

Bracket spacing is where most DIY shelf installations fail. The instinct is to place brackets at the ends of a shelf and call it done, but end-only placement leaves the center unsupported and creates a lever effect that accelerates bowing. A general rule for 3/4-inch plywood or MDF is to place brackets no more than 24 to 32 inches apart. For particle board, bring that number down to 16 to 24 inches. Heavier loads require closer spacing regardless of material.

Our Services

Explore our expert services designed to improve and maintain your home with precision and care.

TV Mounting

Technological advancements over the years seem to make things bigger, and TV sets are…

Step & Stair Repair

As a seasoned home improvement company, Mr. Handyman understands the importance of a well-maintained…

Railing Repair and Installation

At Mr. Handyman, we understand the vital role stair railings play in the appearance,…

Mailbox Repair & Installation

Your mailbox is not just a place to receive mail, but the first impression…

Caulking

Do you have a home renovation scheduled? If so, caulking offers an effective solution…

The bracket needs to be sized correctly for the shelf depth. A bracket arm should extend to within an inch or two of the shelf's front edge. Under-sized brackets put rotational stress on the mounting point and on the shelf material directly above the bracket. The stress shows up as cracking at the bracket holes or progressive tipping of the shelf toward the front.

A handyman professional evaluating an existing installation will look at bracket placement before anything else because misplaced brackets are responsible for the majority of sag complaints. It's a fixable problem, but fixing it means removing the shelf, filling old anchor holes, repositioning brackets, and reinstalling. That's a full afternoon of work that the right spacing during the original installation would have prevented.

How Wall Anchoring Methods Determine Whether a Shelf Stays Put

The wall anchor is the weakest link in most shelf systems. Screwing into drywall without a stud or a rated anchor is the single most common cause of shelf failures. Standard drywall holds almost nothing in tension. A 1/4-inch toggle bolt rated for 50 pounds in a concrete wall might hold 20 pounds in hollow drywall, and the number drops further as the material fatigues around the fastener.

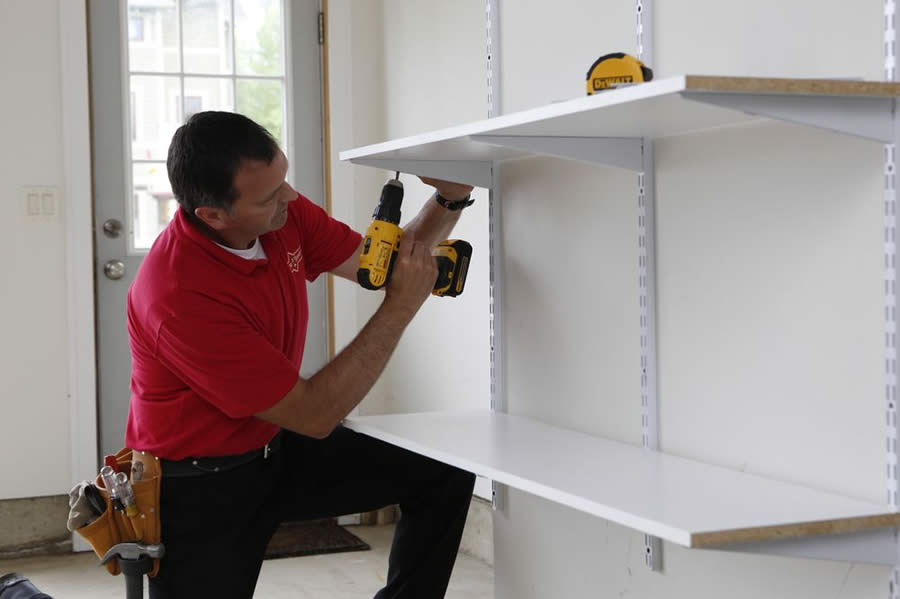
Anchor into studs wherever possible. Studs are normally spaced 16 inches apart and can support substantial loads when fasteners are driven in correctly. When stud placement doesn't line up with bracket requirements, use toggle bolts or snap toggles rated specifically for the load you're planning. Don't substitute general-purpose drywall anchors for toggle-rated hardware.

Home improvement work that involves shelving in tile, masonry, or plaster walls needs different hardware. Masonry anchors or sleeve anchors are the right choice for those surfaces. Attempting to use standard drywall anchors in plaster can result in cracked surfaces and poor holding power. A handyman in Robbinsville with experience in wall anchoring will identify the wall type before selecting fasteners.

The Most Common Installation Mistakes That Lead to Shelf Issues

A shelf repair that results from these mistakes is correctable, but it takes more labor than the original installation. The wall damage from a failed anchor will likely require patching and repainting in addition to reinstalling the hardware. Here are a few mistakes that show up repeatedly in shelf repair calls:

  • Overloading: Shelves rarely fail at the moment of installation. Weight accumulates, and the failure happens when the load finally exceeds what the material and anchors can hold.
  • Not Using a Level During Installation: A shelf installed even slightly out of level shifts the load distribution toward the low end. The asymmetric load stresses one bracket more than the others and can pull anchors from the wall.
  • Using the Wrong Screw Length: A screw that only penetrates 1/2 inch into a stud provides a fraction of the holding power of a screw seated 1.5 inches deep.
  • Skipping a Ledger Board: For shelves holding a lot of weight, a horizontal ledger board mounted across multiple studs distributes the load across the wall.

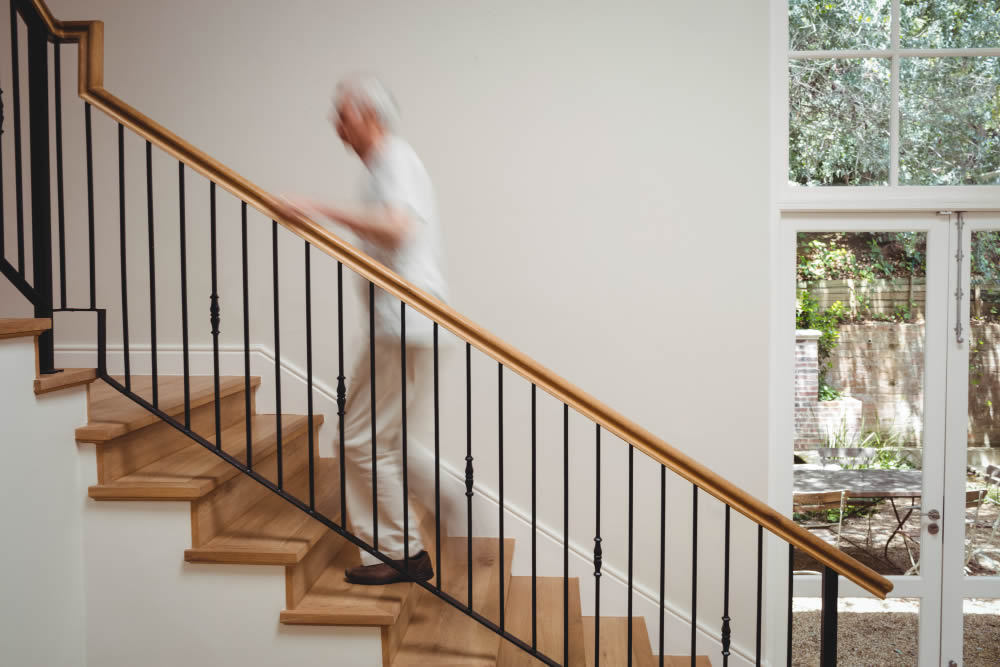
The early signs of sag include visible bowing at the center, bracket screws pulling away from the wall, or creaking under load. Calling a dependable handyman at the first sign of movement is much cheaper than cleaning up the drywall after a failure.

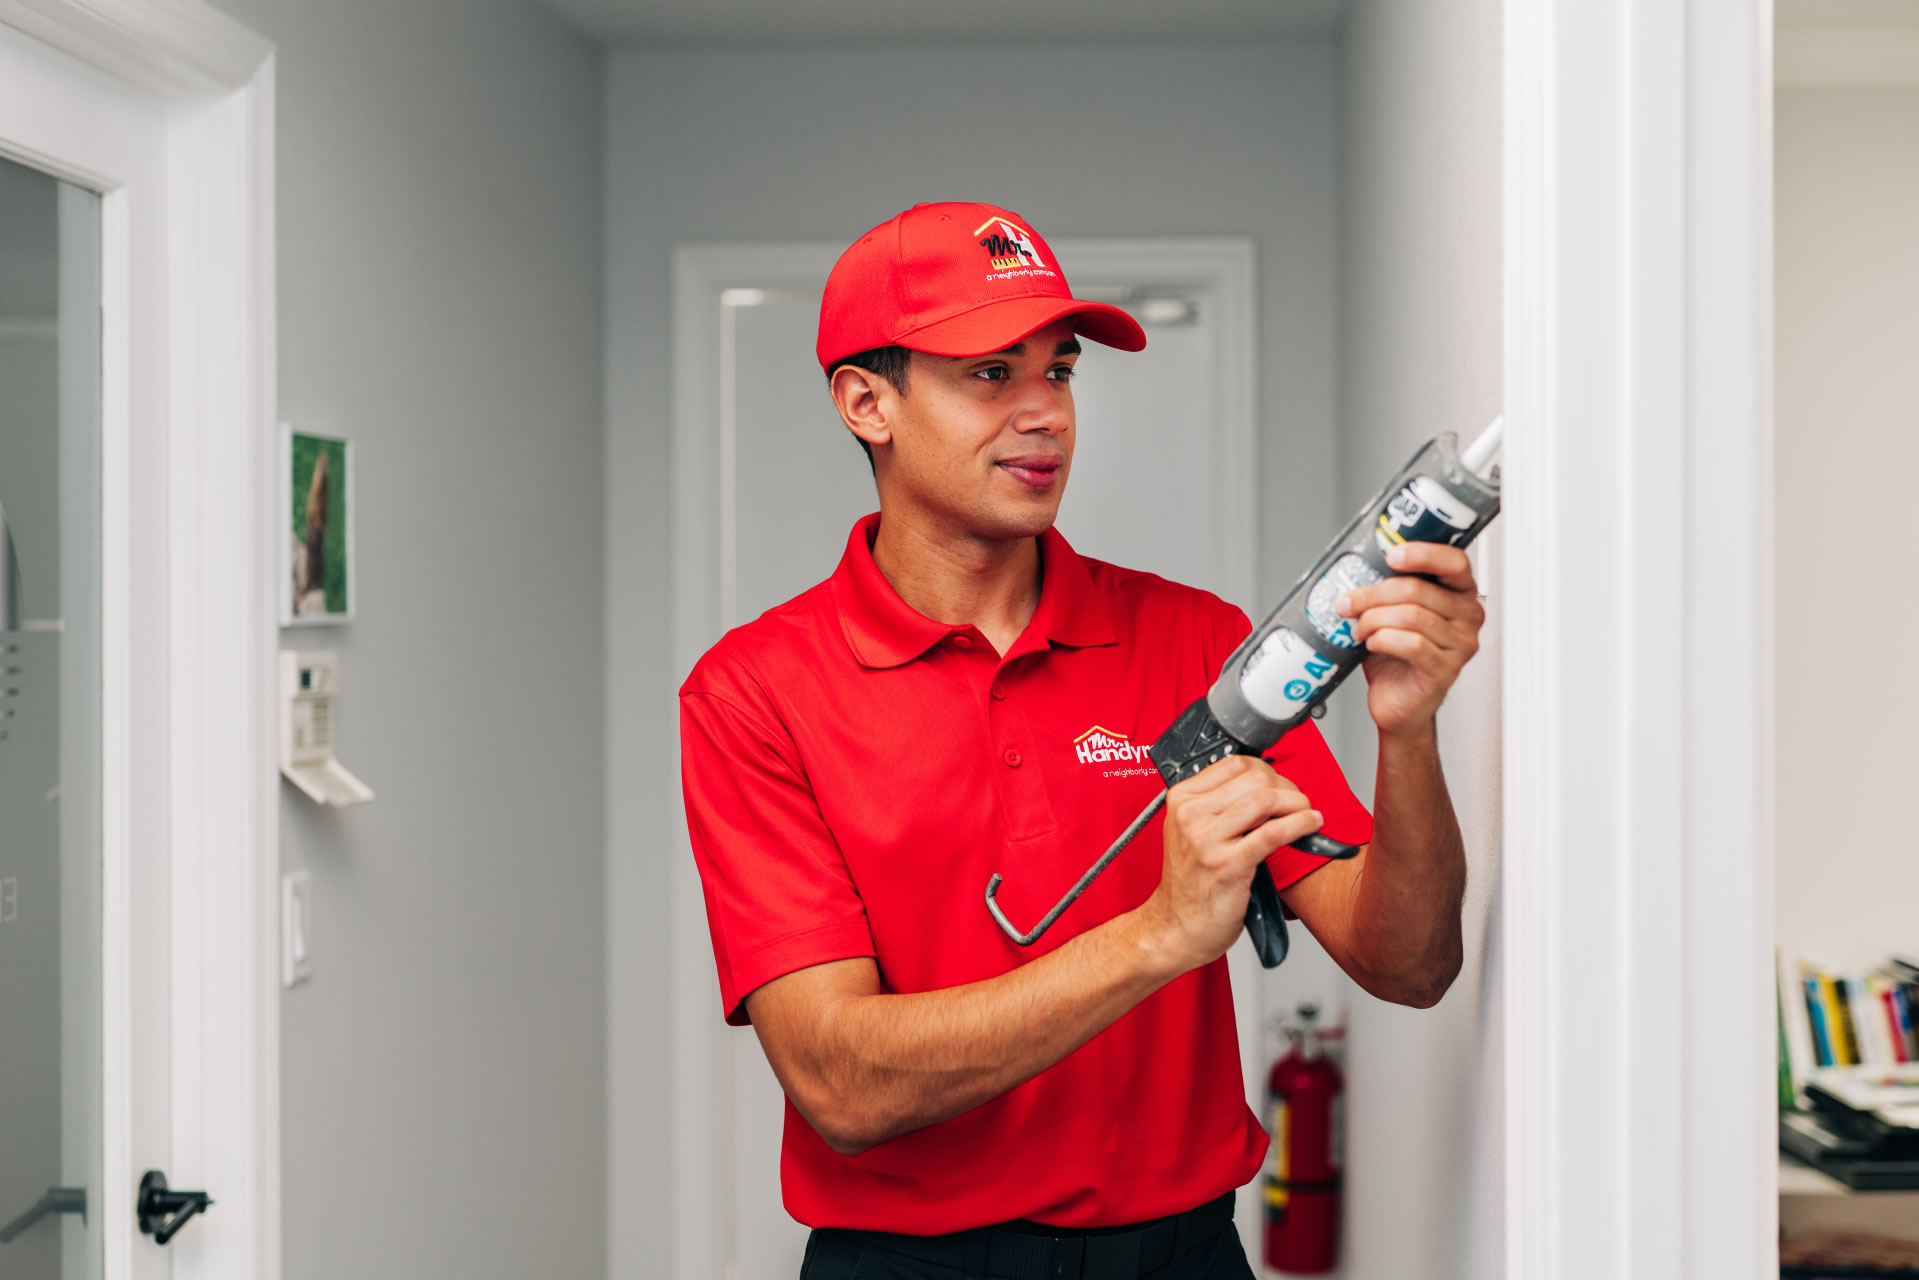
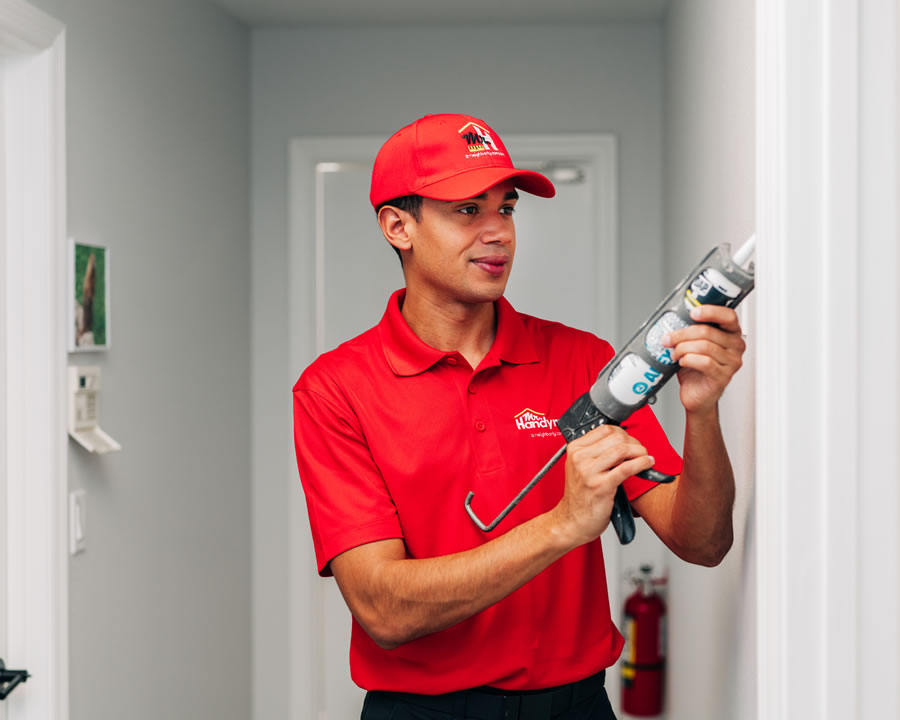
Do You Need Help with Your Shelving?

If you're dealing with sagging shelves, a failed anchor, or a home improvement project that needs a second look, call Mr. Handyman. Our technicians install to last, and can also diagnose the cause of the problem for a lasting shelf repair.

Share on :
Blogs

Our Latest Updates & Blog Posts

How to Prevent Shelves From Sagging or Breaking
Apr 16

How to Prevent Shelves From Sagging or Breaking

A shelf that looks sturdy on installation day can fall six months later under the weight of books, tools, or storage…

Read More
Why Are My Stair Railings Loose or Wobbly?
Apr 10

Why Are My Stair Railings Loose or Wobbly?

A wobbly stair railing is one of those problems that's easy to put off until someone grabs…

Read More
What’s the Best Height to Hang Pictures in My Home?
Apr 06

What’s the Best Height to Hang Pictures in My Home?

Picture hanging sounds simple until you're standing in front of a blank wall with a hammer and…

Read More
Why Kitchen Remodels Go Over Budget and How to Prevent It
Mar 27

Why Kitchen Remodels Go Over Budget and How to Prevent It

Kitchen remodels have a reputation for costing more than expected, and that reputation is well earned. What starts as a focused…

Read More