In rooms with tall ceilings, move the center point up to 62 or 65 inches. You're not breaking the eye-level principle; you're adjusting for a space where the visual midpoint of the room has shifted upward. Large-scale artworks work well here because they can hold their own against extra vertical space. Small frames on a tall wall look like postage stamps.
Room width matters too. A narrow hallway can handle a single piece or a vertical grouping. A wide open living room wall benefits from a horizontal arrangement or a larger anchor piece. Scale your art to the wall, and use the adjusted eye-level guideline to set the height. Both decisions work together.
What Changes When Hanging Pictures Above Furniture
The 57-to-60-inch standard goes out the window once furniture enters the equation. Above a sofa, console table, or headboard, the art needs to relate to the furniture below it rather than a person standing across the room. The general target is six to eight inches between the top of the furniture and the bottom edge of the frame.
This keeps the art visually connected to the piece below it. When it's pushed too high, the two elements look unrelated. If it's dropped too low, then the frame risks getting bumped, or the arrangement looks crowded. For a sofa that sits around 36 inches tall, your artwork's bottom edge should be somewhere between 42 and 44 inches from the floor, and the top edge will depend on frame size from there.
For a grouping above furniture, treat the cluster as a single unit. The bottom of the lowest frame should sit six to eight inches above the furniture, and the overall grouping should not exceed the width of the piece below it. Keeping the grouping within two-thirds to three-quarters of the furniture width prevents the arrangement from looking top-heavy.
How to Plan a Gallery Wall Without Putting Too Many Holes in Your Walls
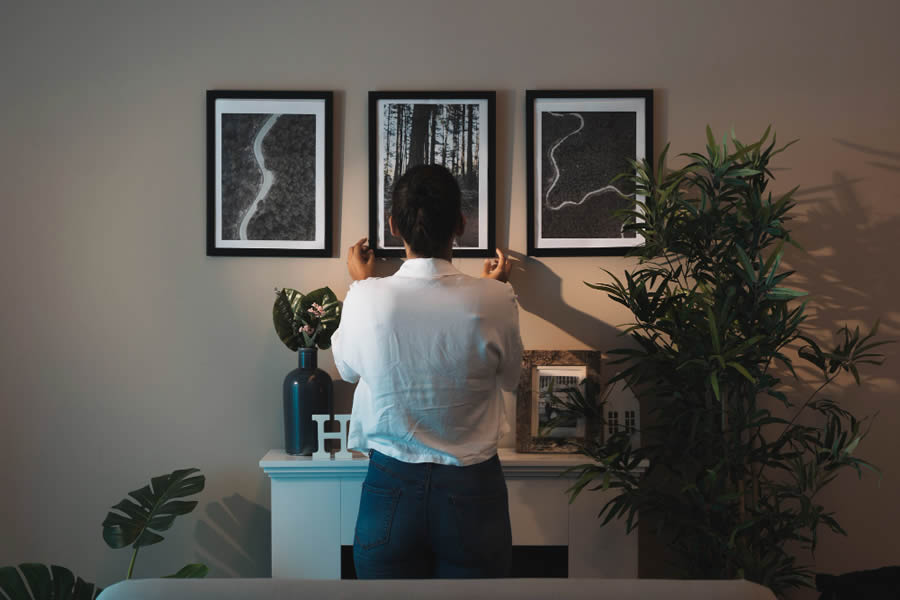
Gallery walls go wrong in the planning phase, not the hanging phase. The most common mistake is going straight to the wall with a nail and a rough mental picture. Lay every frame on the floor first in the arrangement you want, then measure the overall footprint before touching the wall.
Cut paper templates to match each frame size and tape them to the wall with painter's tape. This lets you shift the arrangement, test spacing, and confirm the overall placement before the nails go in. Standard spacing between frames runs two to four inches. Tighter spacing creates a denser, more intentional look. Wider gaps make the grouping feel loose.
Decide on a consistent center line or a consistent bottom edge to anchor the whole arrangement. Trying to eyeball a gallery wall freehand is what leads to a wall that looks like an accident. A level, a measuring tape, and ten minutes of planning on the floor will cut down on your hole count and produce cleaner results.
When It Makes Sense to Call a Professional Instead of Going It Alone
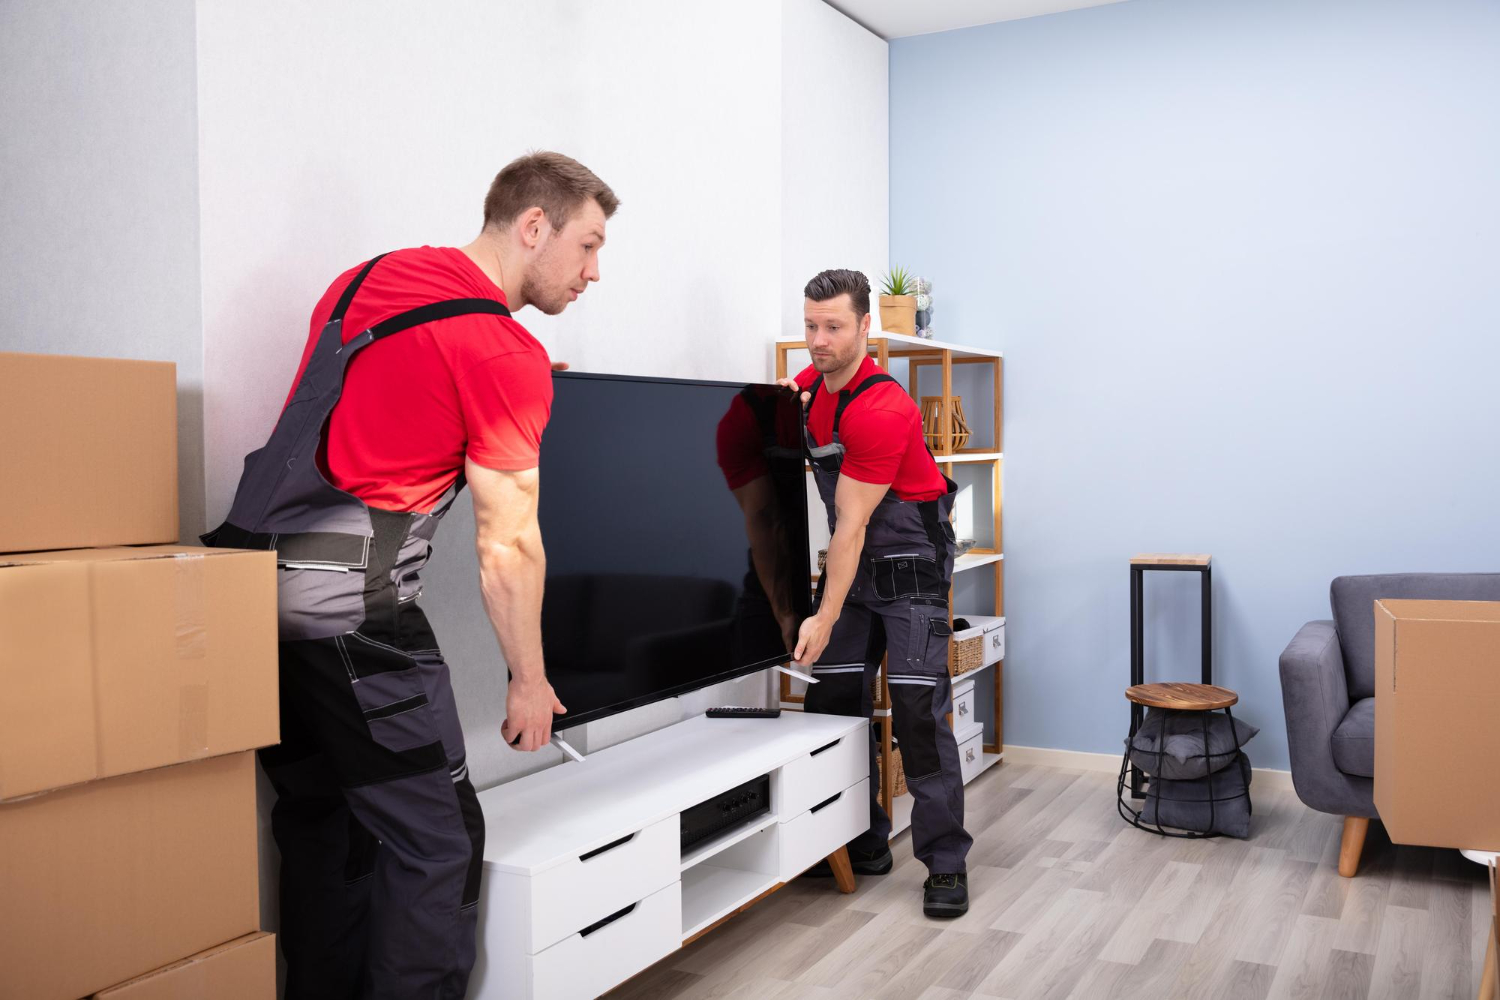
Most single-frame hanging jobs are manageable as a DIY project. A gallery wall with twelve frames, a heavy mirror above a fireplace, or art hung on plaster, tile, or concrete is a different situation. The wrong anchor in the wrong wall material can pull out under load and take chunks of wall with it.
Heavy pieces, anything over 20 pounds, need to hit a stud or use a wall anchor rated for the weight. Plaster walls require different anchors than drywall. Concrete and brick need masonry hardware and a drill with the right bit. A qualified handyman has the tools and experience to assess the wall type.
A professional picture hanging service also saves time on complex arrangements. If you're hanging a large collection, working with oversized frames, or dealing with a wall surface that's anything other than standard drywall, the cost of a picture hanging service is worth it to avoid the cost of patching and repainting. This is one home improvement task where getting it right the first time has a clear dollar value.
Do You Need Help Hanging Your Art?
When the job involves heavy frames, difficult wall materials, or a large gallery arrangement, contact Mr. Handyman to schedule a picture hanging service. Our team provides home improvement projects of every size, and we show up with the right tools to do the job clean the first time.